| |
|
| |
A tattooist friend from Vancouver B.C. wanted to get his car re-done, friends of his couldn't understand why, because it still looked decent... It wasn't until I started exploring the body that I discovered how truly rough it was... So enjoy looking at the pics & I'll explain as we go along what was done here...
The funny thing with this build is in the trunk area, if it wasn't for the frame, after I cut out all the bad metal, you could have walked right up to the back window... Whoever did this car previously was a master with duct tape & tar, you could not tell how bad the trunk was until I cut into it...
|
| |
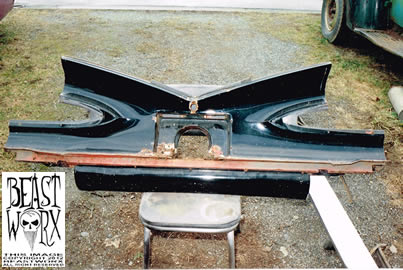
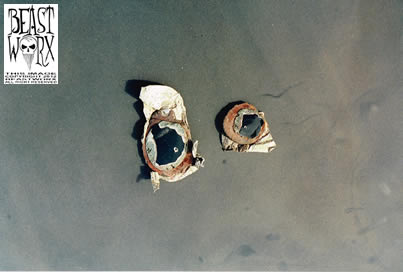
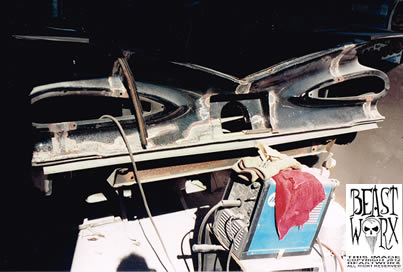
The picture to the right shows you the tail panel that I removed from the car to get to the rust...
|
<< CLICK FOR LARGER IMAGE >>
|
| |
<< CLICK FOR LARGER IMAGE >> |
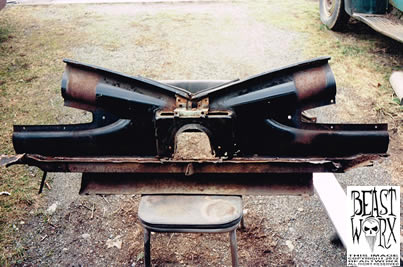
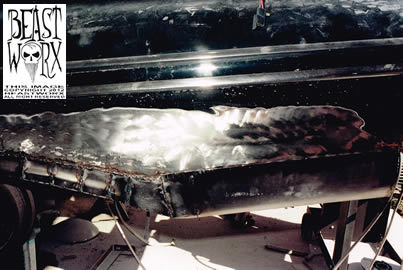
The picture to the left is the inside shot of the tail panel... Note: You can see part of the rear body cross member still attached...
|
| |
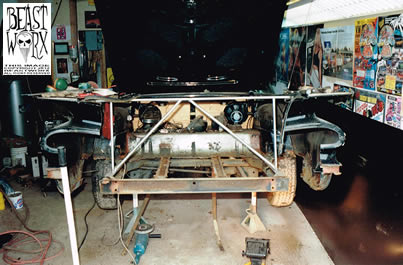
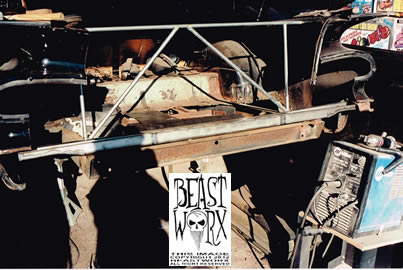
This picture illustrates the cross-bracing that was required to keep the body aligned... At this point the old floor has already been removed...
|
<< CLICK FOR LARGER IMAGE >> |
| |
<< CLICK FOR LARGER IMAGE >>
|
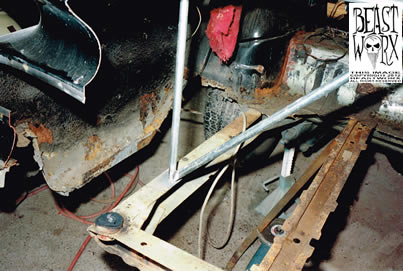
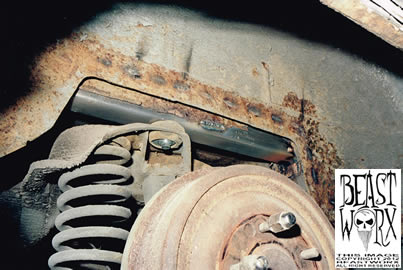
This is a good picture to illustrate the extent of the rust the had devoured the rear of the car... This would be on the driver's side...
|
| |
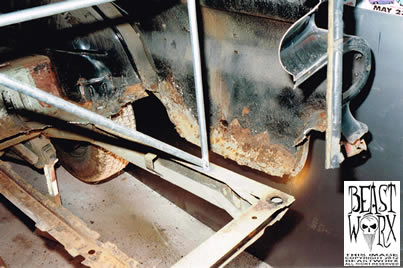
This is of the passengers side...
|
<< CLICK FOR LARGER IMAGE >>
|
| |

<< CLICK FOR LARGER IMAGE >>
|
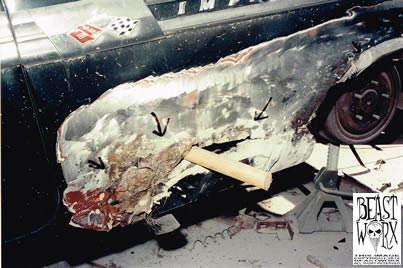
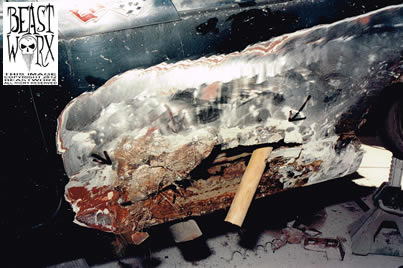
The interesting thing in this pic is if you look where the wooden dowel is sticking out, well that spot had a 1/2" bubble in the paint, and I couldn't do a proper job without knowing what was underneath... The next (2) pictures will show you what I found...
A bit difficult to see in this pic is that the quarter panel and wheel well are connected by body filler, not metal...
|
| |
A different angle to show you what I was uncovering...
|
<< CLICK FOR LARGER IMAGE >>
|
| |
<< CLICK FOR LARGER IMAGE >>
|
This shows you the extent of what I found, all from a little 1/2" bubble in the paint... The previous repair consisted of plastic screen door mesh, rivets and body filler... Note: I have not cut anything out here, just removed all the filler...
|
| |
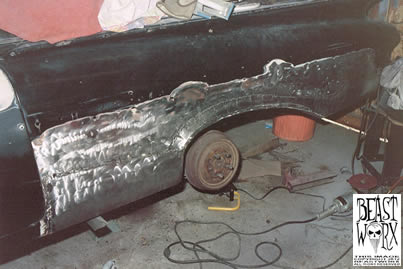
Here is the rear wheel well & bottom rear quarter panel repaired...
|
<< CLICK FOR LARGER IMAGE >>
|
| |
<< CLICK FOR LARGER IMAGE >>
|
Here's a good pic showing a proper repair with metal filling in the previously gaping rust hole...
|
| |
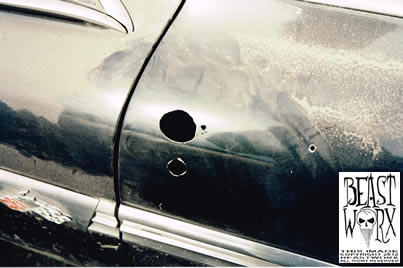
The car had shaved door handles but I could see the oval outlines of the work, I knew something wasn't right so I tapped the area with a screwdriver & a hammer...
|
<< CLICK FOR LARGER IMAGE >>
|
| |
<< CLICK FOR LARGER IMAGE >>
|
This is what the shave job consisted of, body filler and muffler tape... This I re-did in metal...
|
| |
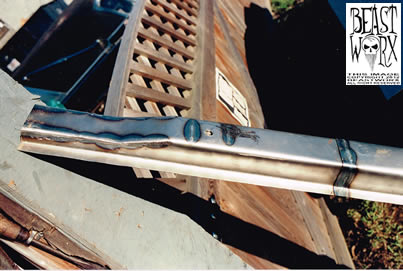
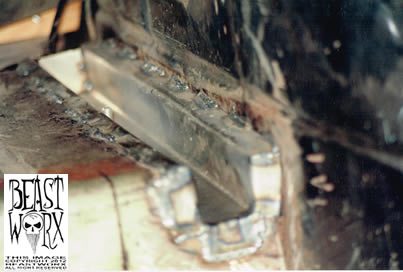
This is the rear body mount (cross member) that I fabbed up with a home made sheet metal brake...
|
<< CLICK FOR LARGER IMAGE >>
|
| |
<< CLICK FOR LARGER IMAGE >>
|
Part of the inside of the rear body mount...
|
| |
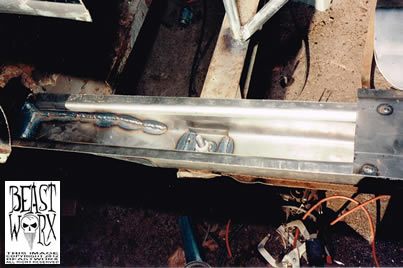
Rear body mount in place...
|
<< CLICK FOR LARGER IMAGE >>
|
| |
<< CLICK FOR LARGER IMAGE >>
|
Another body mount repair, this one is at the rear wheel well... As you can tell, nothing was holding the back of this car to the frame...
|
| |
A different angle of the body mount...
|
<< CLICK FOR LARGER IMAGE >>
|
| |
<< CLICK FOR LARGER IMAGE >>
|
Tail panel welded back on car...
|
| |
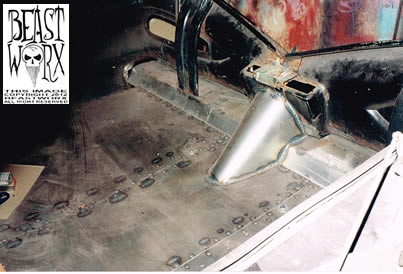
Sheet metal work in trunk area, all parts fabbed by myself...
|
<< CLICK FOR LARGER IMAGE >>
|
| |
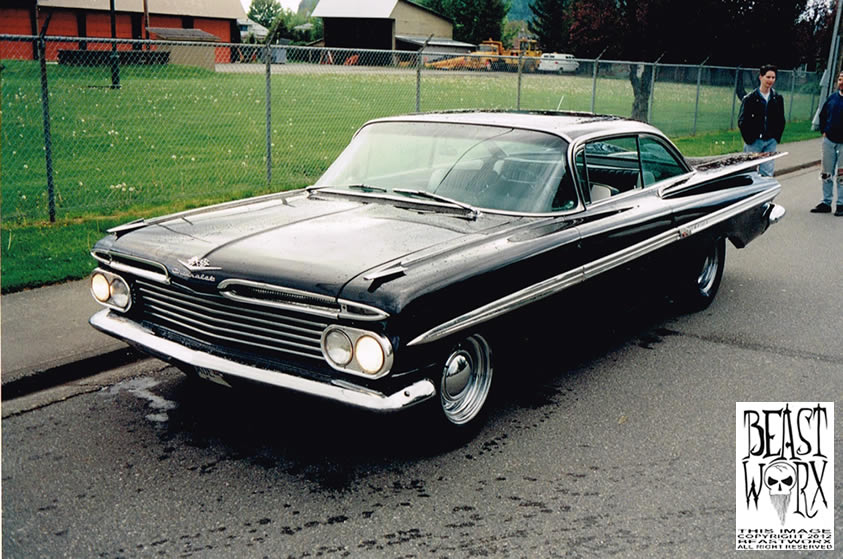
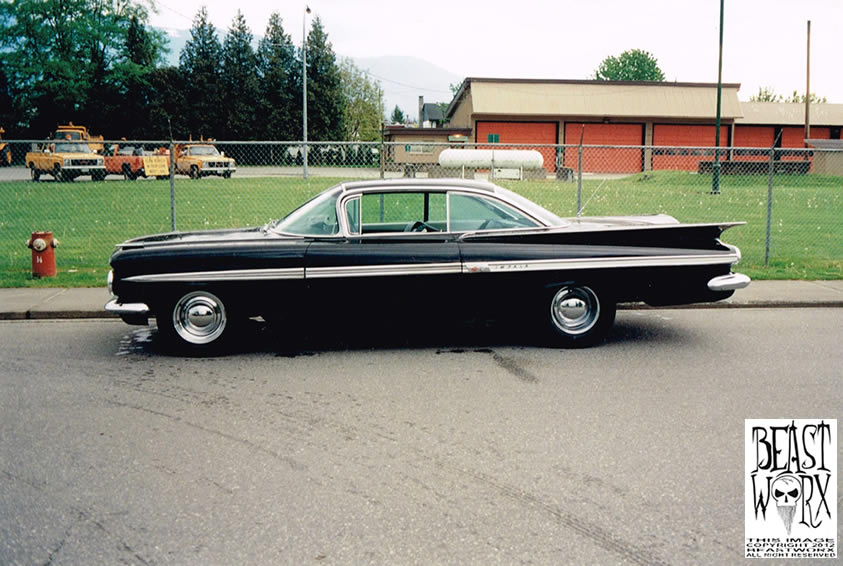
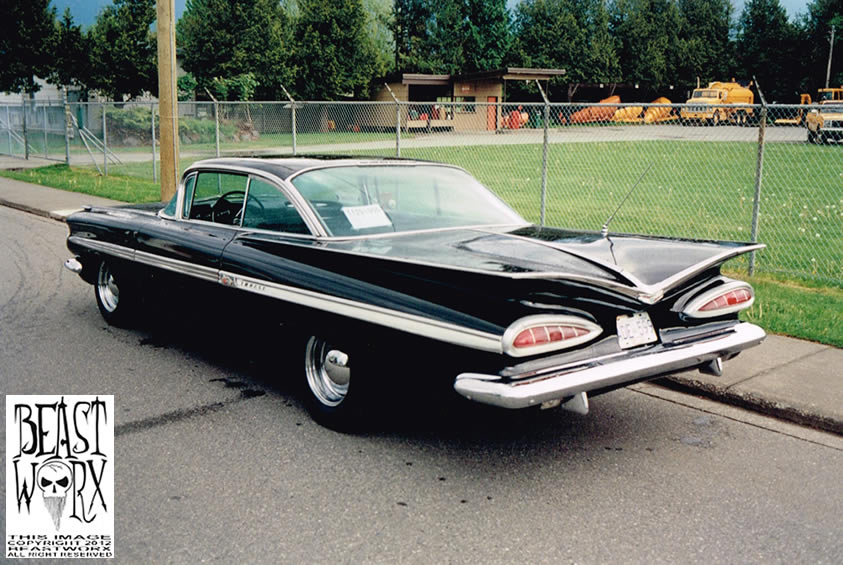
The following pictures show the finished product... The final colour was Cadillac Black Cherry with a White Pearl inlay in the trim... Unfortunately, the happiness for the customer was short lived as he went to Los Angeles to be a guest artist at a Tattoo Parlor there & the car was stolen from the front of the shop & never seen again...
|
| |
<< CLICK FOR LARGER IMAGE >>
|
| |
<< CLICK FOR LARGER IMAGE >>
|
| |
<< CLICK FOR LARGER IMAGE >>
|
|