
|

|
|
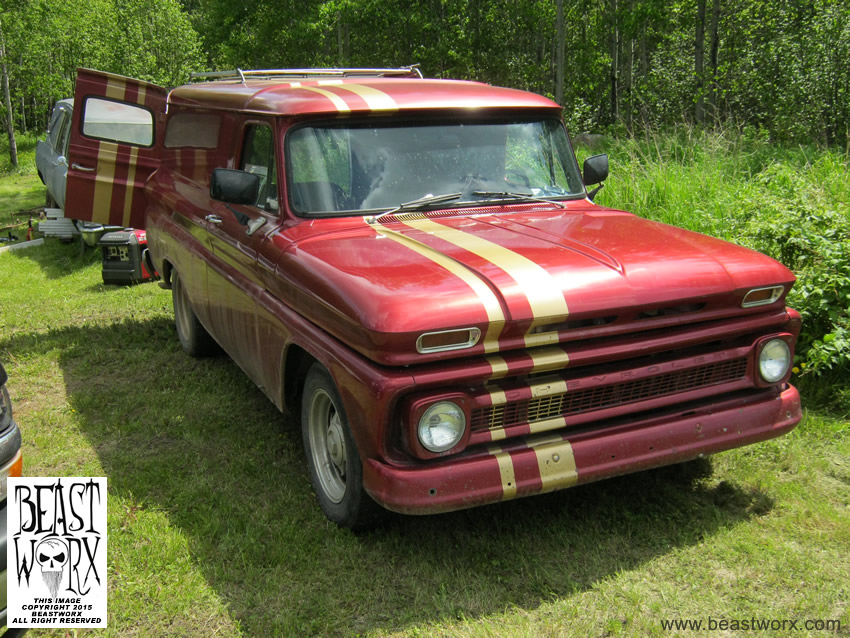
1964 Chevrolet Panel Truck |
|
The title pic here shows Robb's beloved 1964 Chev Panel Truck... You will see as the photos tell the story below that a lot of rust was beginning to take its toll under the shiny facade... |
|
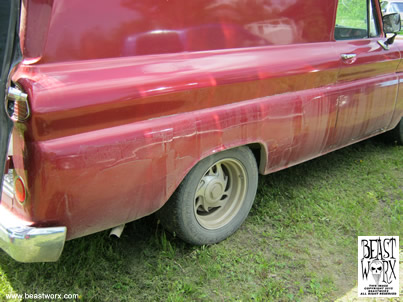
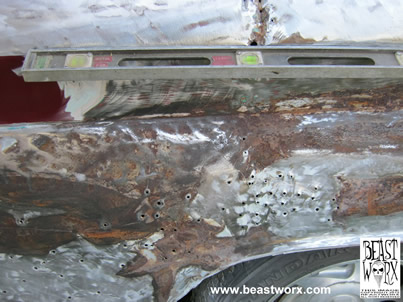
This is the area of concern that Robb had in regards to his panel... If you look at the enlarged pic you can see the cracking that was taking place... |
<< CLICK FOR LARGER IMAGE >> |
<< CLICK FOR LARGER IMAGE >> |
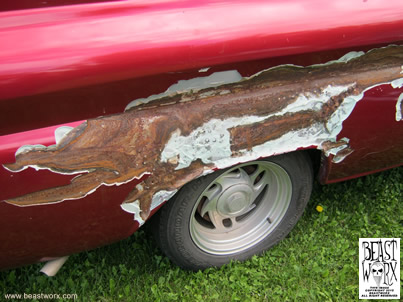
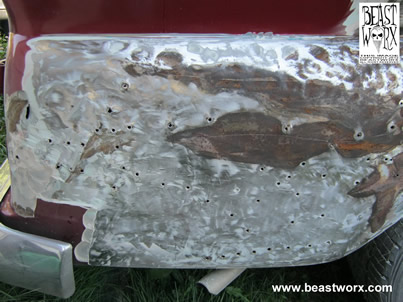
With very little effort I was knocking off chunks of body filler up to 1" thick, as you can see moisture had been getting behind the filler for quite some time... |
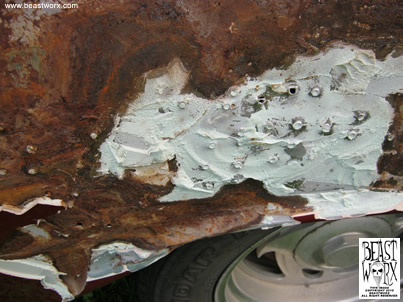
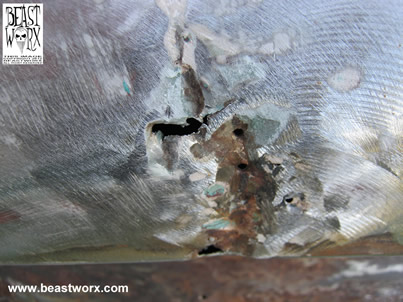
This is a close up to show you the extent of the devastation that's been taking place on this 1/4 panel... |
<< CLICK FOR LARGER IMAGE >> |
<< CLICK FOR LARGER IMAGE >> |
You'll also notice random drilled holes, some of them would have been done to assist in pulling out the damage, but I would bet most were done to help anchor the sheer volume of body filler required to smooth over this job... The level was used to see the distortion in the metal in the upper belt line... |
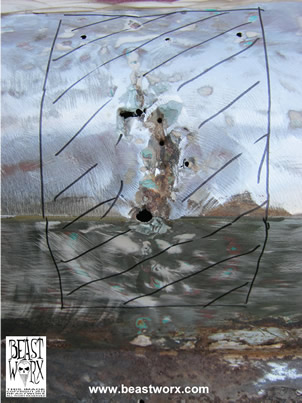
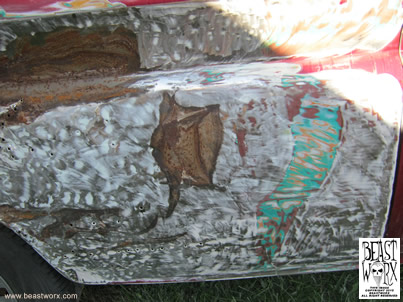
This is damage in the middle belt-line area of the panel truck... |
<< CLICK FOR LARGER IMAGE >> |
<< CLICK FOR LARGER IMAGE >> |
This shows you the area that I've marked that needs to be removed... |
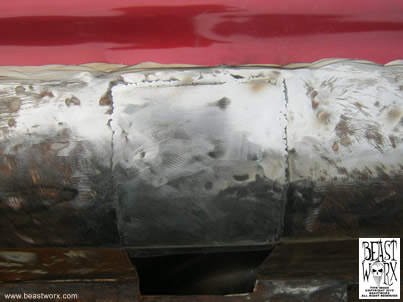
This shows you the repair that was made to the belt-line.... |
<< CLICK FOR LARGER IMAGE >> |
<< CLICK FOR LARGER IMAGE >> |
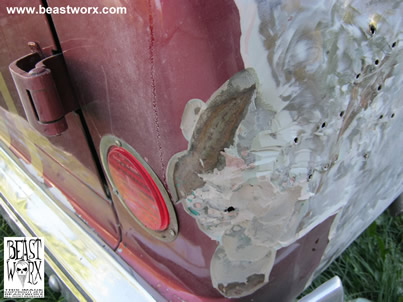
The rear of the 1/4 panel showing massive amounts of body filler once again, as well as numerous random drilled holes... |
This is the taillight area of the rear 1/4 panel... |
<< CLICK FOR LARGER IMAGE >> |
<< CLICK FOR LARGER IMAGE >> |
This is the taillight area of the rear 1/4 panel... |
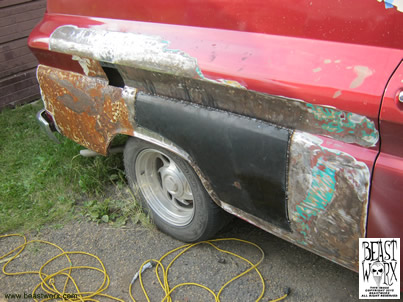
This is the amount of material that I have removed from the front half of the 1/4 pane... |
<< CLICK FOR LARGER IMAGE >> |
<< CLICK FOR LARGER IMAGE >> |
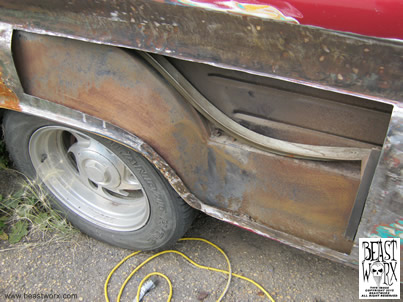
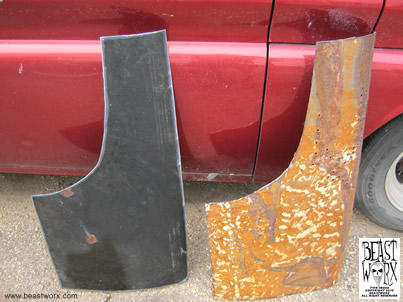
This is the sheet metal that was cut out beside the new piece that was fabbed to replace it... |
As you'll notice in this picture the forward 1/4 panel has been repaired as the damage has been replaced... |
<< CLICK FOR LARGER IMAGE >> |
<< STAY TUNED FOR MORE OF THIS STORY >> |
|
This site's content is the © Copyright 2012 of BEASTWORX ALL RIGHTS RESERVED This web design is the © Copyright 2012 of TODHUNTER.co ALL RIGHTS RESERVED |
||
|